ARE YOUR CABINETS OVERSTUFFED, INEFFICIENT AND DIFFICULT TO USE?
IS IT HARD TO FIND WHAT YOU WANT OR EASILY REACH WHAT YOU NEED?
IS THE DISORGANIZATION IMPACTING THE FUNCTIONALITY OF YOUR KITCHEN?
If you’ve answered YES to any of these questions, it might be time to reorganize and and setup your cabinets to increase the efficiency in your kitchen. Using a few basic organizing techniques, implementing a variety of space-saving tools and investing a little bit of time will quickly maximize the everyday function of your kitchen space. Read on to learn how you can get your cabinets organized today.
CLEAR IT ALL OUT
The very first thing you should do is choose the cabinet(s) you wish to work on; choose your target cabinet based on the time you have available and by using this general guideline:
-
2 Hours: 1 cabinet
-
4 Hours: 2-3 cabinets
-
8 Hours: 4-6 cabinets
-
12 Hours: 4-6 cabinets & a small pantry
Once you’ve determined what cabinet to focus on, clear everything out of that cabinet. If you remove food items, check the expiration date for each item, TOSS what is expired and SET ASIDE what is left.
If the cabinet contains dishware, check each piece for broken parts (TOSS), pieces you don’t use very often (MOVE TO ANOTHER LOCATION) or pieces you no longer wish to keep (DONATE OR GIVE AWAY). Wipe down the cabinet and consider installing new shelf paper or lining.
CATEGORIZE YOUR ITEMS
Once you know what you will be keeping (you should have been able to decrease your overall inventory by at least 1/3 with the above purge technique), then it’s time to GROUP LIKE WITH LIKE. Here’s an example of possible groupings:
For food items:
| ♦ canned goods | ♦ boxed goods |
| ♦ cereal | ♦ baking |
| ♦ spices | ♦ oils |
| ♦ grains | ♦ pasta |
For dishware:
| ♦ plates | ♦ bowls |
| ♦ glasses | ♦ coffee cups |
| ♦ serving platters | ♦ silverware |
| ♦ mixing bowls | ♦ baking pans |
| ♦ pots & pans |
After the items have been sorted through and grouped accordingly, decide on which cabinet in which they will be housed and return the appropriate items to the designated location. Here is a general location guideline:
- Dishware & utensils near the cleaning source (dishwasher/sink)
- Servingware near the serving spaces (place where you eat)
- Bakeware near the oven; mixing bowls near the prep center
- glasses/cups near the source of drink (refrigerator, cold drawer or coffee station)
CONTAINERIZE TO MAXIMIZE SPACE
If you have food items that are used on an everyday basis, consider implementing a system to house that food. Containers are great for maximizing space and keeping food fresher for longer. They also make identifying contents quick and easy as well as reaching a breeze.
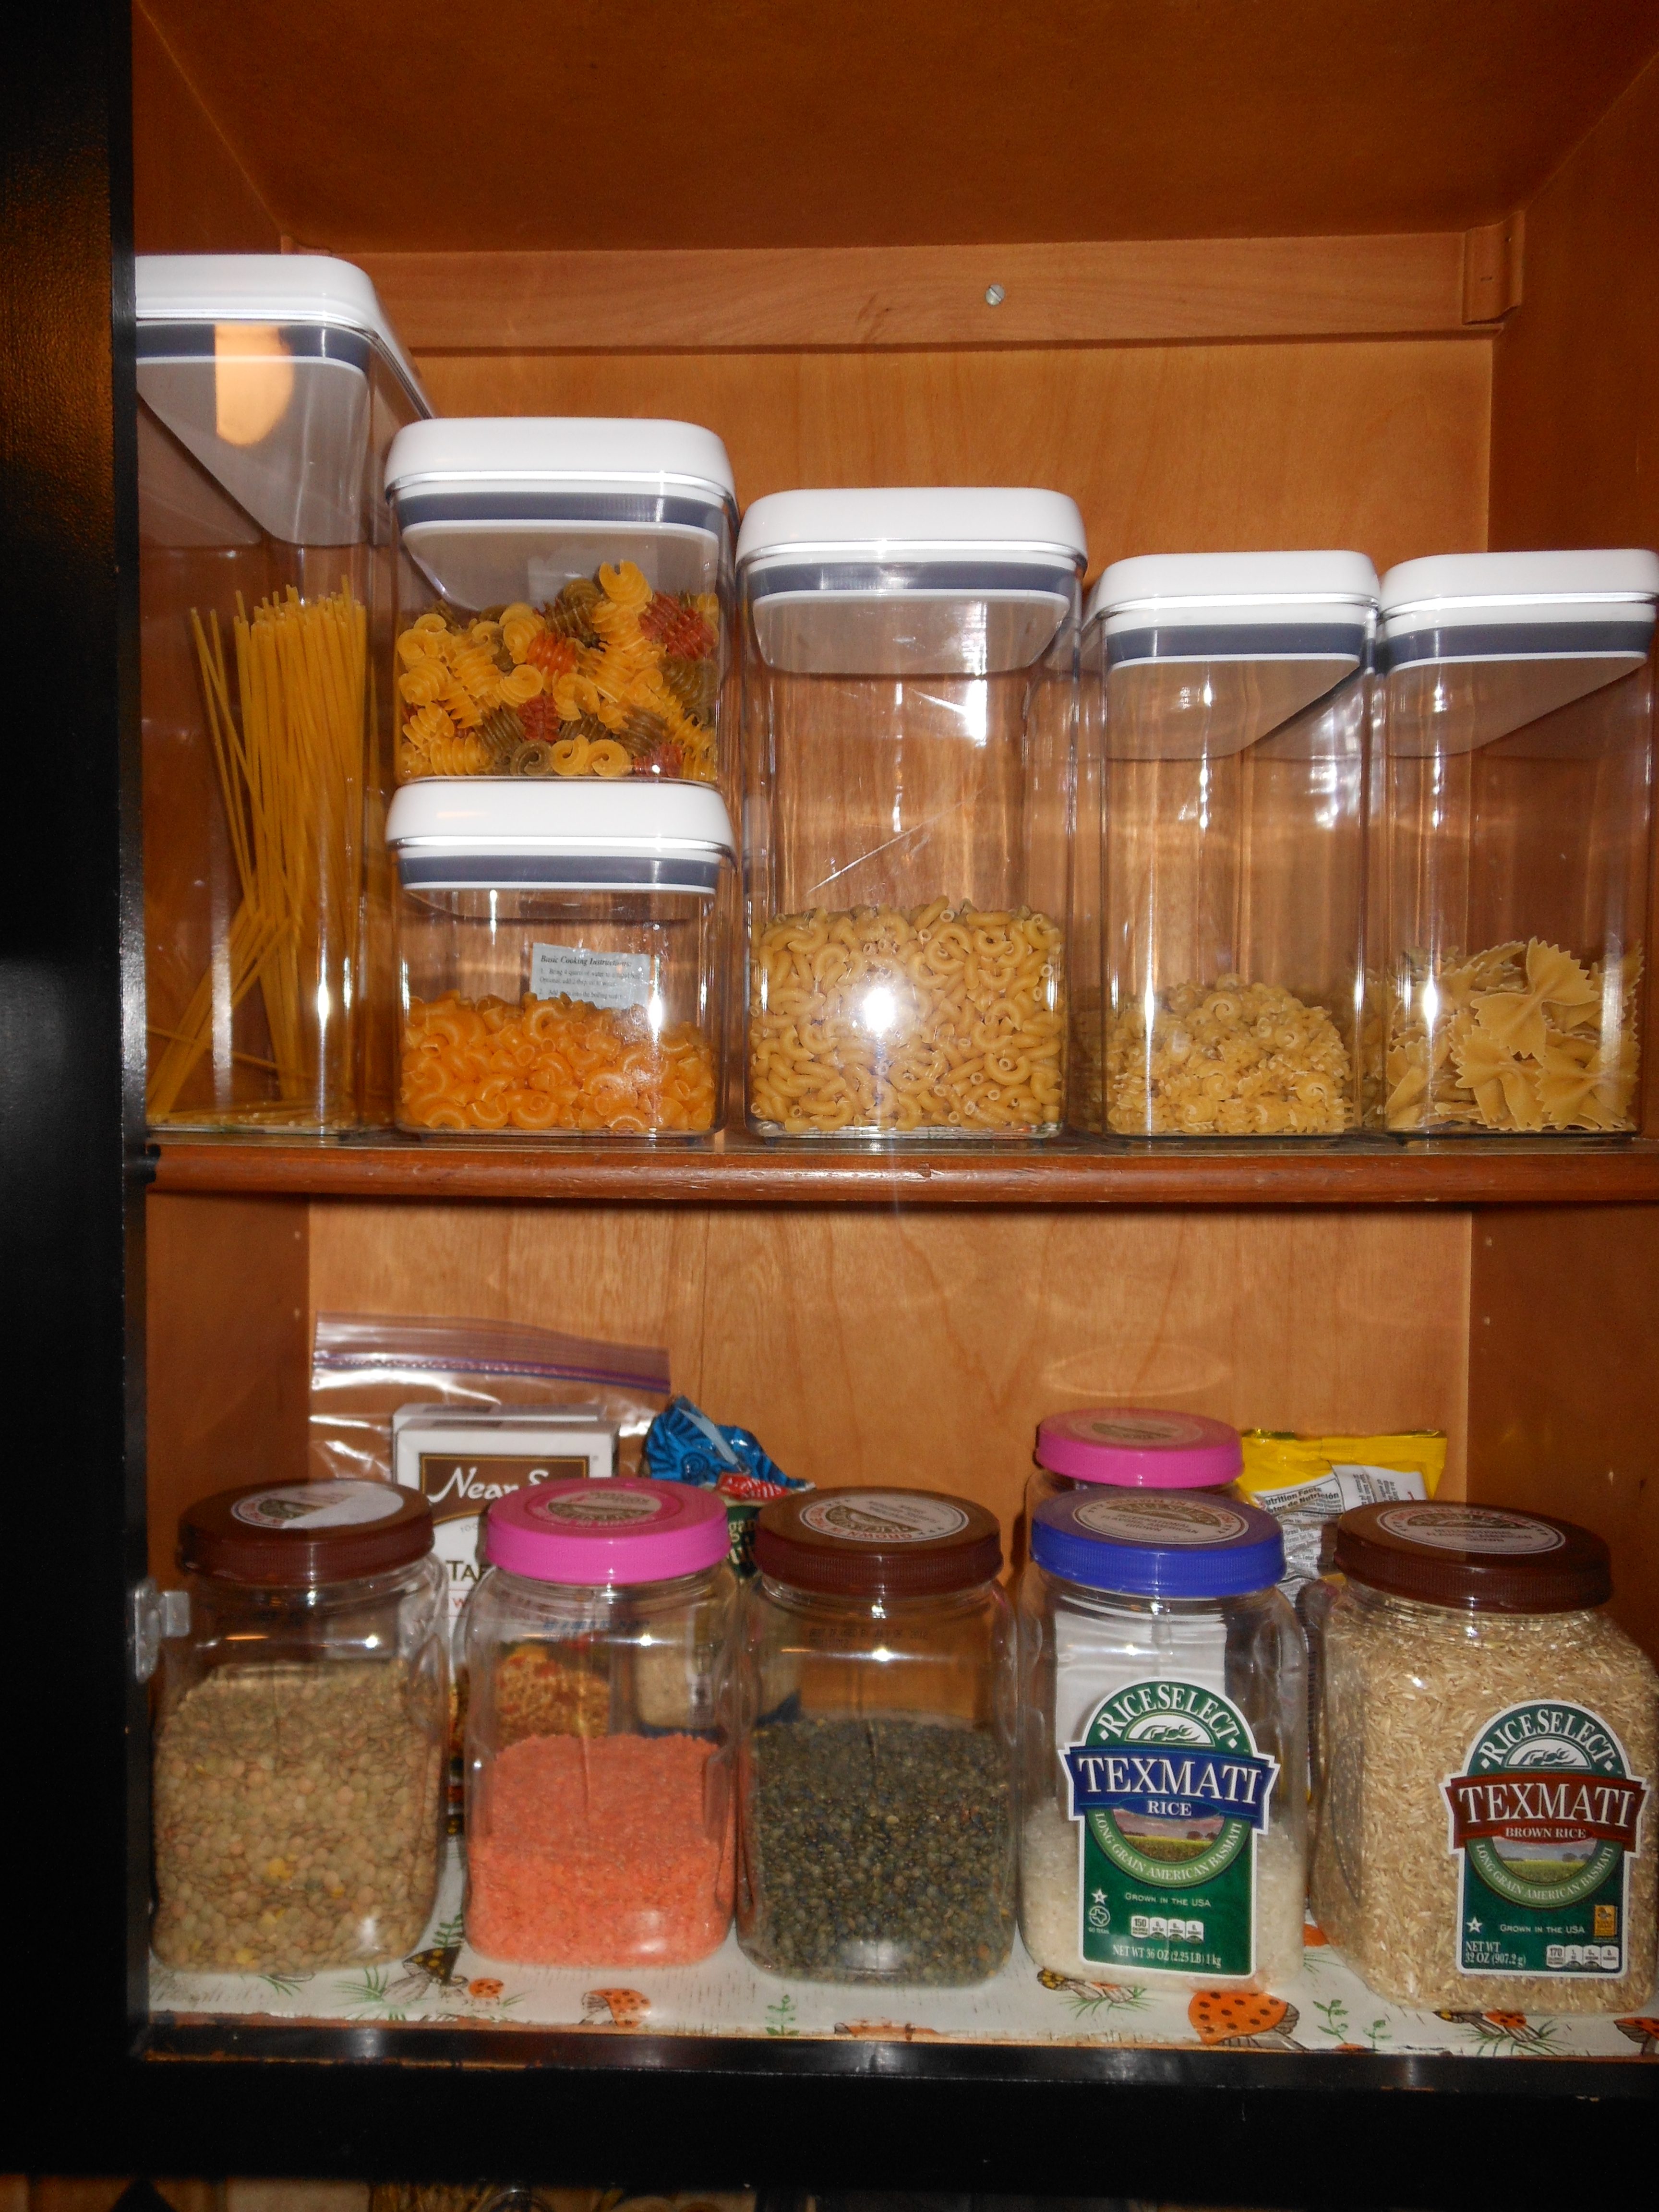
Here’s an example of a container system that was used for a client’s recent cabinet makeover.
A combination of store-bought containers and repurposed containers was implemented to reduce cost.
The clear containers allow the food to be easily identified and the shape of the containers make it easily reachable.
Another example of maximizing space with containers is illustrated below with my own pantry container system that was designed using products from Tupperware.
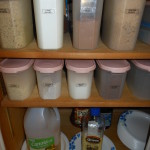
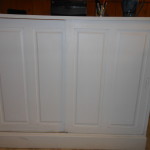
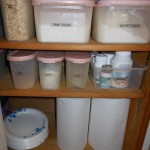
The sliding doors on this cabinet make everything easily accessible, the container system inside helps to keep the food organized and fresh and the small space is maximized to its fullest storage capacity. Adding labels makes it easy to see the contents at a glance and is like the icing on the cake!
Maximizing your kitchen cabinets can be quite simple using the 3 Cs strategy detailed in this article. Once you have implemented the techniques, you will find that you will no longer answer YES to the questions above and you will quickly be on your way to maximizing the functionality of your kitchen.
Now it’s your turn….TELL US if you think this is something you want to try by dropping a comment below. As always, we’d love to FIND OUT how it turns out for you – you can give us all the details in the comments below. And…
DON’T FORGET – there will be another blog post in this series to follow: Setting up an Effective Landing Zone. You can receive this post, future ones and our upcoming newsletter directly in your mailbox if you sign up HERE.